
One of the most common home roofing projects in the United States is the installation of roof shingles. Whether you are re-roofing a house that already has one or constructing a brand new house, knowledge of the fundamentals of shingle roofing will aid you in making informed decisions, even though you may use the services of a professional.
Let’s walk through how roof shingles are installed, what tools are required, and why proper technique matters.
Step 1: Prepare the Roof Deck for shingle roofing
Any successful shingle roofing project begins with a good foundation. When replacing an old roof, the first thing to do is to remove the old shingles and underlayment from the deck.
After exposing the deck, look at it:
- Rot or water damage
- Soft spots
- Loose nails
- Sagging structure
- Damaged sections
Get a replacement for missing or broken points. A bad deck, when covered with shingles, will lead to early roof failure. Wash the surface to eliminate debris and dust. With the shingles, a dry surface causes them to stick and seal well.
Step 2: Install the Drip Edge and Underlayment
Then install a drip edge made of metal. It forces the water off the fascia and into the gutters. The drip edge is normally placed over the underlayment on the slope of the roof.
Lay the roofing underlayment over the deck in a horizontal manner, with the bottom being the first row and the top overlapping every preceding row. The new synthetic underbelly is lightweight and not easily torn compared to the old felt.
Apply an ice and water shield at the eaves and valleys in cold places. Research indicates that self-clinging membranes reduce the chances of ice dam leakages and rain driven by wind.
When layered properly at this stage, the entire shingle roofing becomes stronger.
Step 3: Install Starter Shingles
The starter shingles provide a strong foundation for the first layer of the entire shingles and prevent the wind from blowing them away. They are fixed on the eaves with the piece of adhesive facing upwards.
Shingles can also be destroyed by wind in the absence of starter strips. Tests have indicated better resistance to wind in well-sealed starter courses, which is significant in the hurricane-prone states. This measure is necessary for an extended shingle roofing.
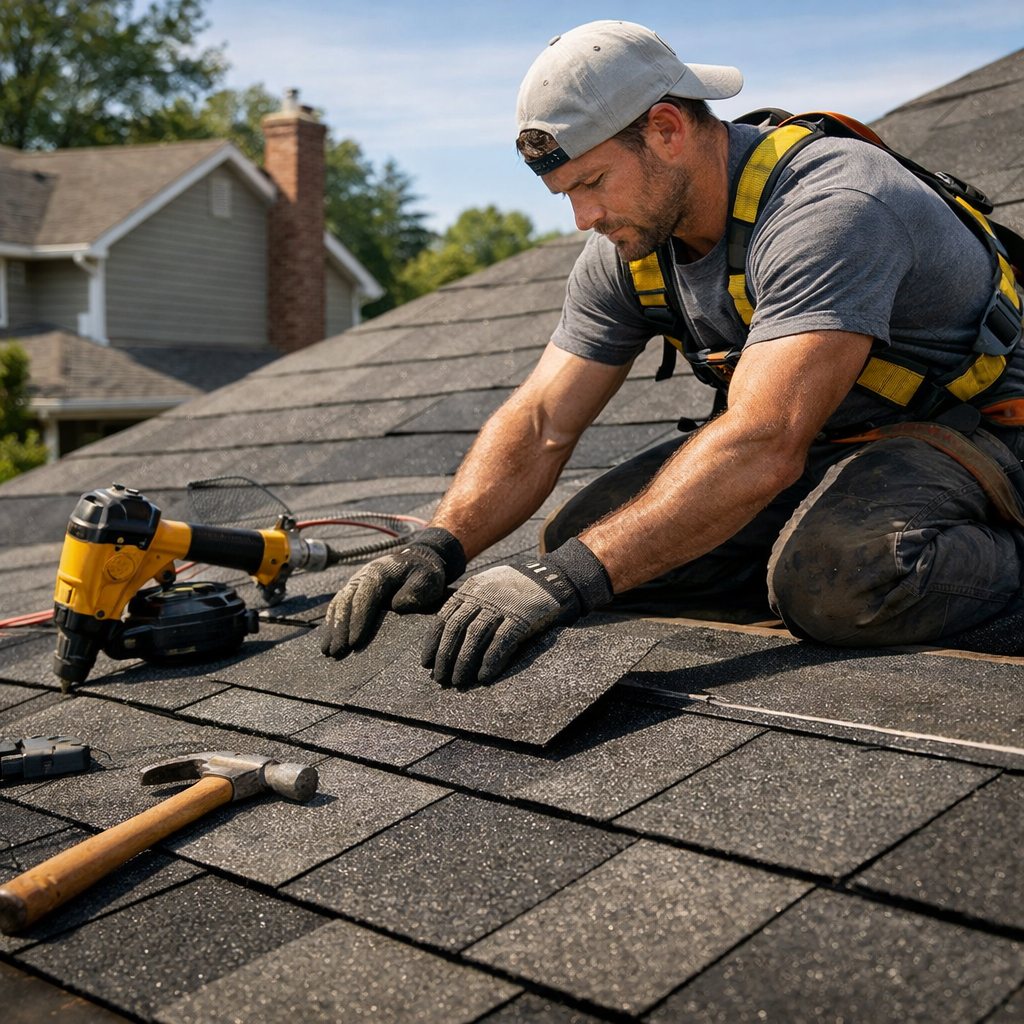
Step 4: Lay the First Row of Shingles
Begin by putting up full shingles at the corner of the roof. Align the initial shingle at the drip edge and ensure that it extends over the drip edge.
Insert roofing nails- four or six per shingle, according to the regulations of the manufacturer and the local codes. The nails ought to be driven straight and even, but not too far or at an angle.
Continue moving over the row, trimming the final shingle.
Precision matters here. Improper nail placement is one of the most common causes of premature shingle roofing failure.
Step 5: Work Upward in Overlapping Rows
There must be an overlap of each subsequent row with the previous row, where the manufacturer suggests the exposure line. Stagger the seams to prevent water entry and also to make it look nice.
This overlapping pattern is what makes shingle roofing effective at shedding water. In case the shingles are lined and sealed properly, gravity assists.
Go on until you get to the ridges.
Step 6: Install Flashing Around Penetrations
Openings in the roof, such as chimneys, skylights, vent pipes, etc., must be flashed using metal to prevent leakage.
Step flashing is attached to the wall sides, and the chimney has counter flashing. Plumbing vents are covered by vent boots.
A major cause of roof leaks is caused by bad flashing installation. Ensuring watertight seals enhances the durability of your shingle roofing system.
Step 7: Install Ridge Cap Shingles
In cases where the two sides of the roof intersect at the ridge, ridge cap shingles are inserted to cover the top. These are designed to curve the ridge and may allow the air to flow in case you have a ridge vent.
The ridges are lined with tight overlapping nailings made of weather protection. This final step completes the shingle roofing installation.
Final Thoughts
Roof shingles do not consist only of nailing boards on a roof. A complete shingle roofing system includes careful deck preparation, layered moisture barriers, proper fastening, flashing installation, and ridge finishing.
FAQs
How long does it take to install roof shingles?
For an average-sized home, professional installation typically takes one to three days, depending on weather and roof complexity.
Can I install shingles over old shingles?
In some cases, building codes allow one additional layer, but complete removal is usually recommended for better performance and inspection.
How many nails are required per shingle?
Most manufacturers recommend four nails per shingle, or six in high-wind areas.
What is the lifespan of asphalt shingles?
Standard asphalt shingles last 20–30 years with proper installation and maintenance.
What is the biggest mistake during installation?
Improper nail placement and inadequate flashing are the most common causes of roof leaks and premature failure.